
Mio padre mi ha passato un paio di vecchie camicie con il collo rovinato. Su internet ho visto tanti suggerimenti per trasformare una camicia da uomo, a cui mi sono ispirata per trasformare la prima camicia in un top/vestitino kawaii.
Difficoltà: media (richieste capacità di cucito basico-medie e un minimo di occhio per il taglio)
Materiale: vecchia camicia, meglio un po'grande, necessario per cucire e decorazioni a piacere (io ho usato pile, perline e pizzo per fare delle applicazioni)
My father gave me a couple of old shirts with a ruined collar. On the internet I saw many advices to alterate a man's shirt, which I used as an inspiration to transform the first shirt in a kawaii top/dress.
Difficulty: medium (basic-medium sewing skills required and a bit of an eye for cutting)
Material: old shirt, the bigger the better, necessary to sew and decorations as you like (I used pile, beads and lace to make applications)
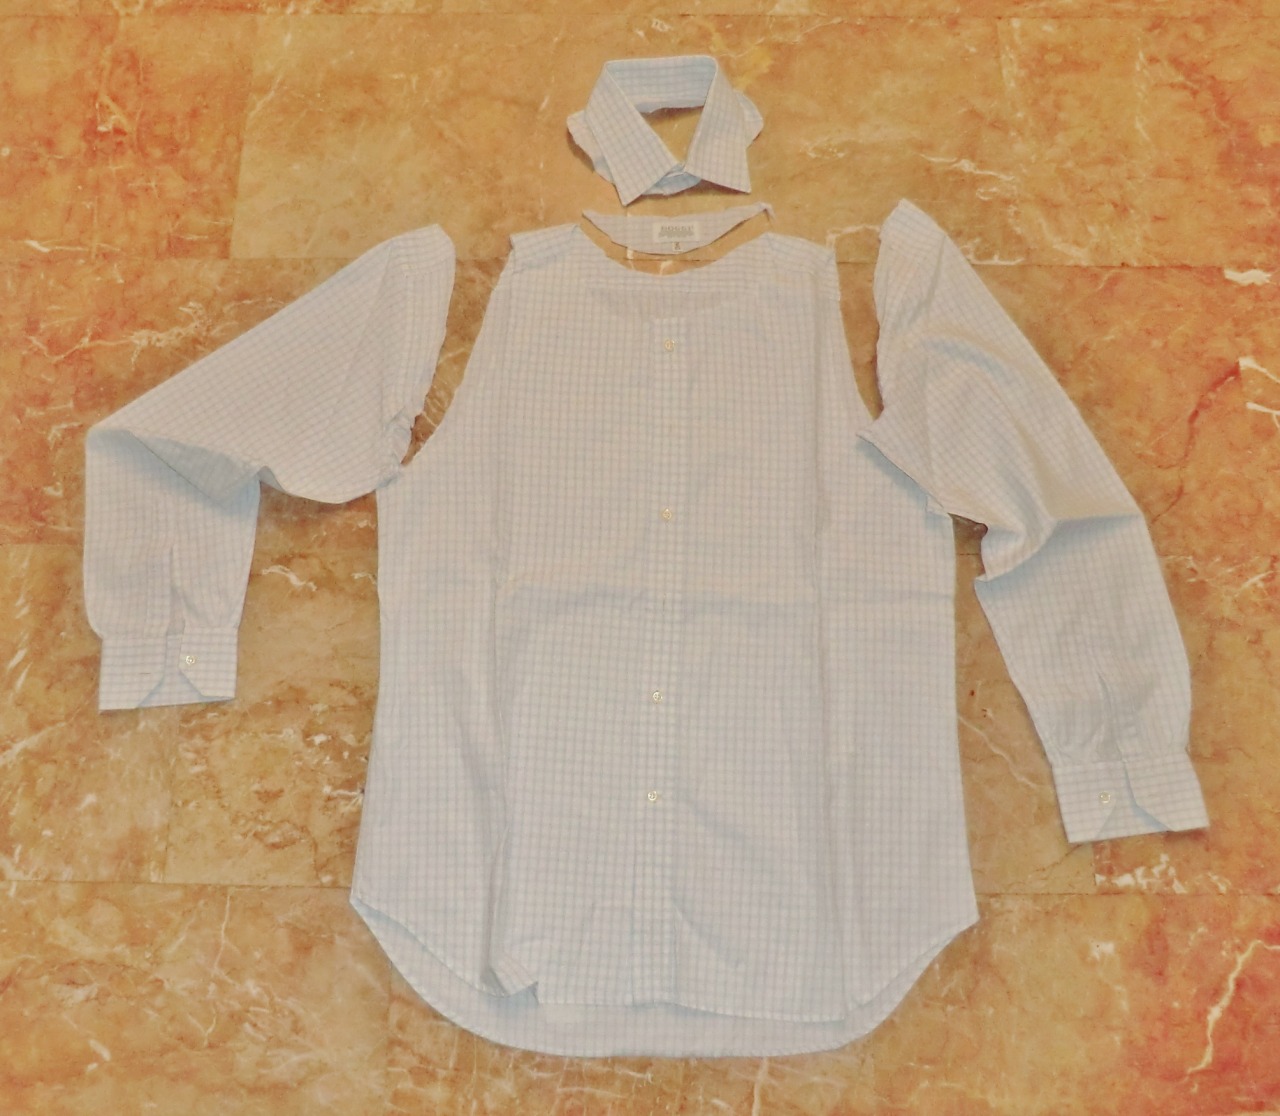
Per prima cosa tagliate via le maniche e il collo alla camicia. Questa è la fase più importante, quindi studiatela bene, magari usando una canottiera per calcolare le misure. Ricordatevi che è meglio tagliare di meno che di più, perché così in caso si può tagliare ancora.
Anche la cucitura superiore sulle spalle va tagliata, in modo da ottenere una sorta di canottiera con le bretelle aperte.
Non esagerate con lo scollo, perché verrà aumentato nella fase dopo.
Tenete le maniche per usare la stoffa nelle fasi seguenti e anche polsini e colletto perché presto pubblicherò altri tutorial per darvi idee su come riutilizzarli.
First, cut off the sleeves and collar of the shirt. This is the most important step, so study it well, perhaps using a tank top to calculate the measures. Remember it is better to cut less than more, because you can always cut more.
Even the top stitching on the shoulders must be cut, so as to obtain a sort of vest with open suspenders.
Do not overdo the neckline, because it will be increased in a later stage.
Keep the sleeves to use the material in the following steps and also the cuffs and collar because I will soon publish other tutorials to give you ideas on how to recycle them.

Orlate le parti del collo e delle maniche, ripiegando il tessuto su se stesso (io ho fatto così) o fermando il tutto con un nastro o tessuto tagliato dalle maniche.
Aggiungete un pezzo di stoffa tagliata dalle maniche che avete tagliato via alle spalline, in modo da avere uno scollo più basso e un top più lungo.
Hem the neck and sleeves parts, folding the fabric on itself (I did it this way) or stopping them from fraying with a ribbon or fabric cut off the sleeves.
Add a piece of cloth cut from the sleeves you to the straps, in order to have a lower neckline and a longer top.
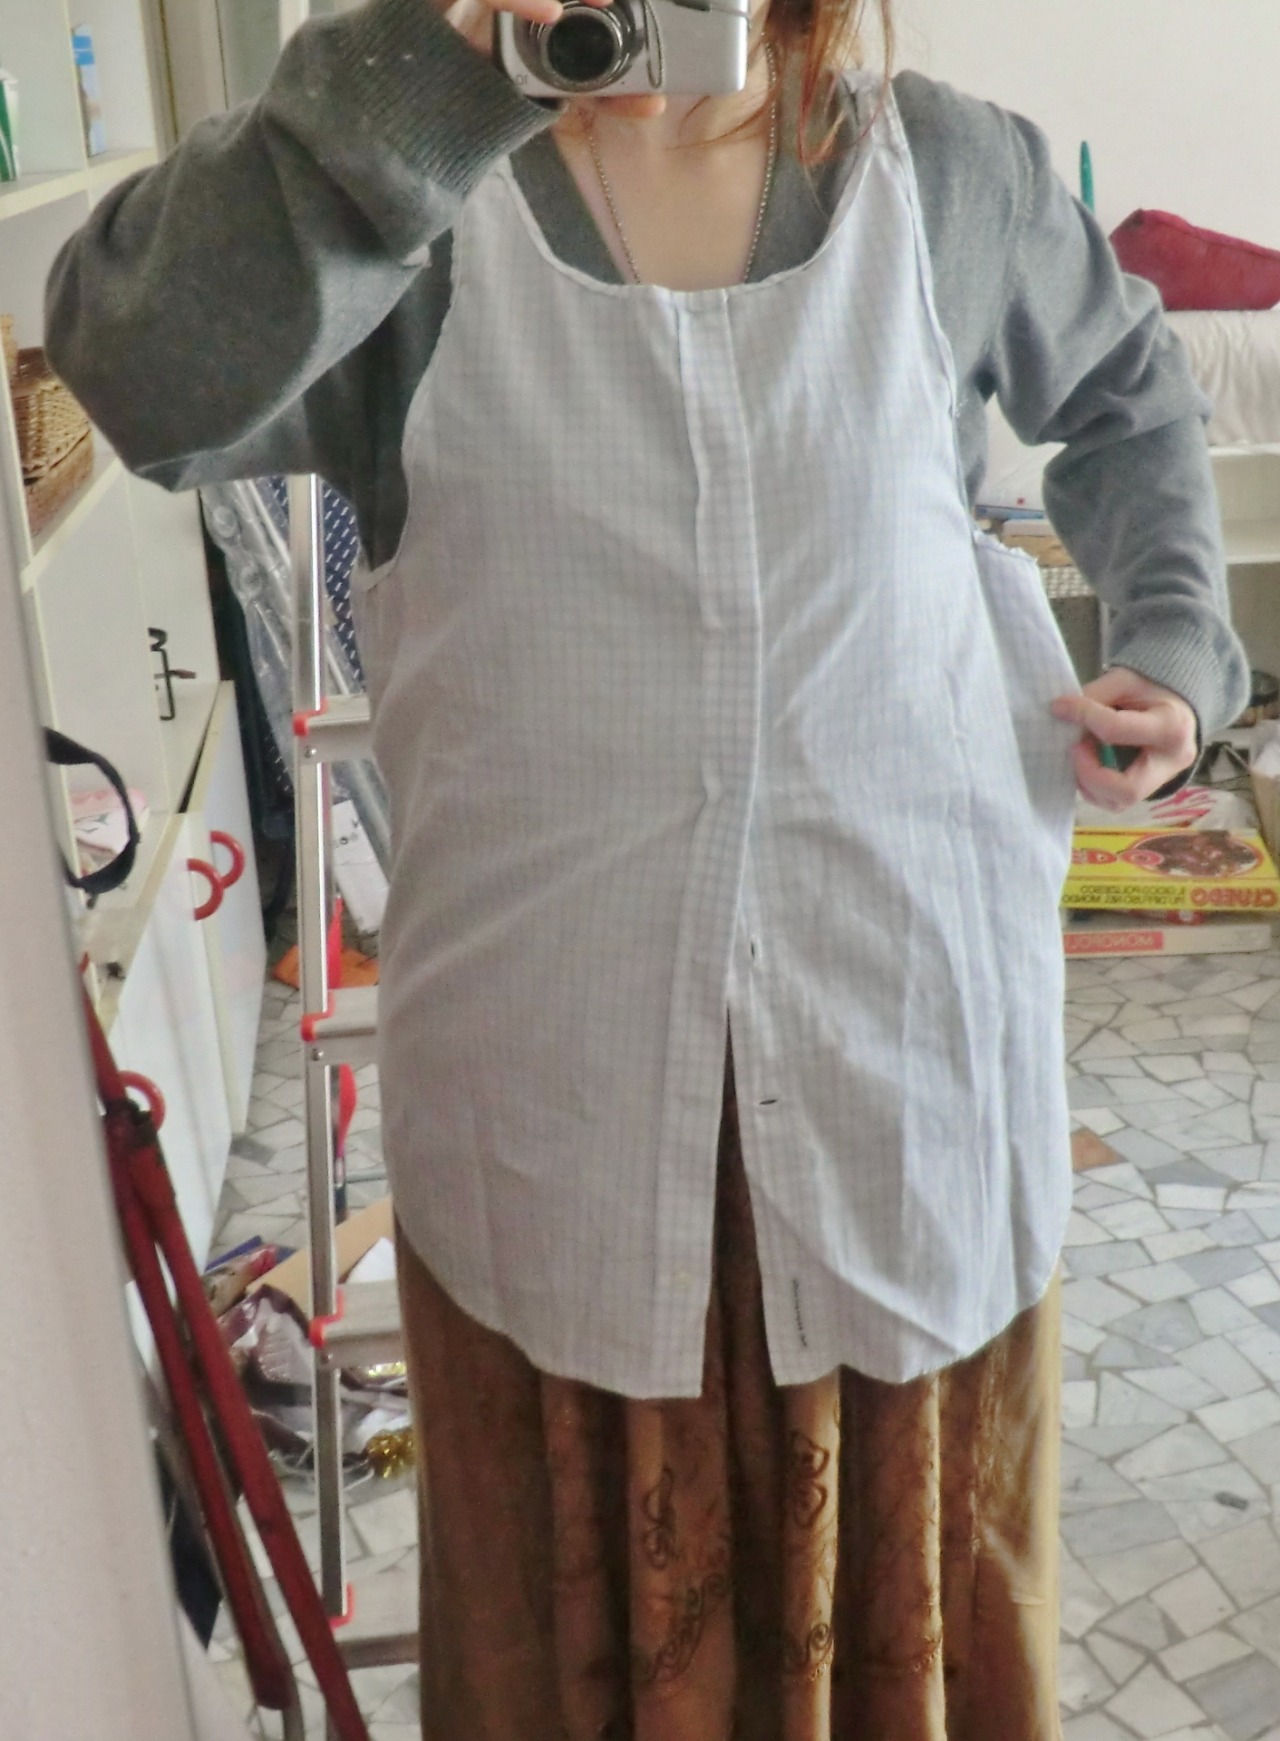
A questo punto avete una sorta di canottiera "da muratore", larga e con i buchi delle braccia troppo grandi. Indossatela al contrario e con degli spilli fermate un triangolino sul lato in modo da restringere il buco delle braccia e restringere leggermente la canottiera. Visto che ogni corpo è diverso è meglio fare varie prove indossandola.
At this point you have some sort of "mason-like " vest wide, with armholes that are too big. Wear it inside out and with pins, pin a triangle on the side so as to narrow the armholes and slightly thighten the vest. Since every body is different is better to do various tests wearing it.
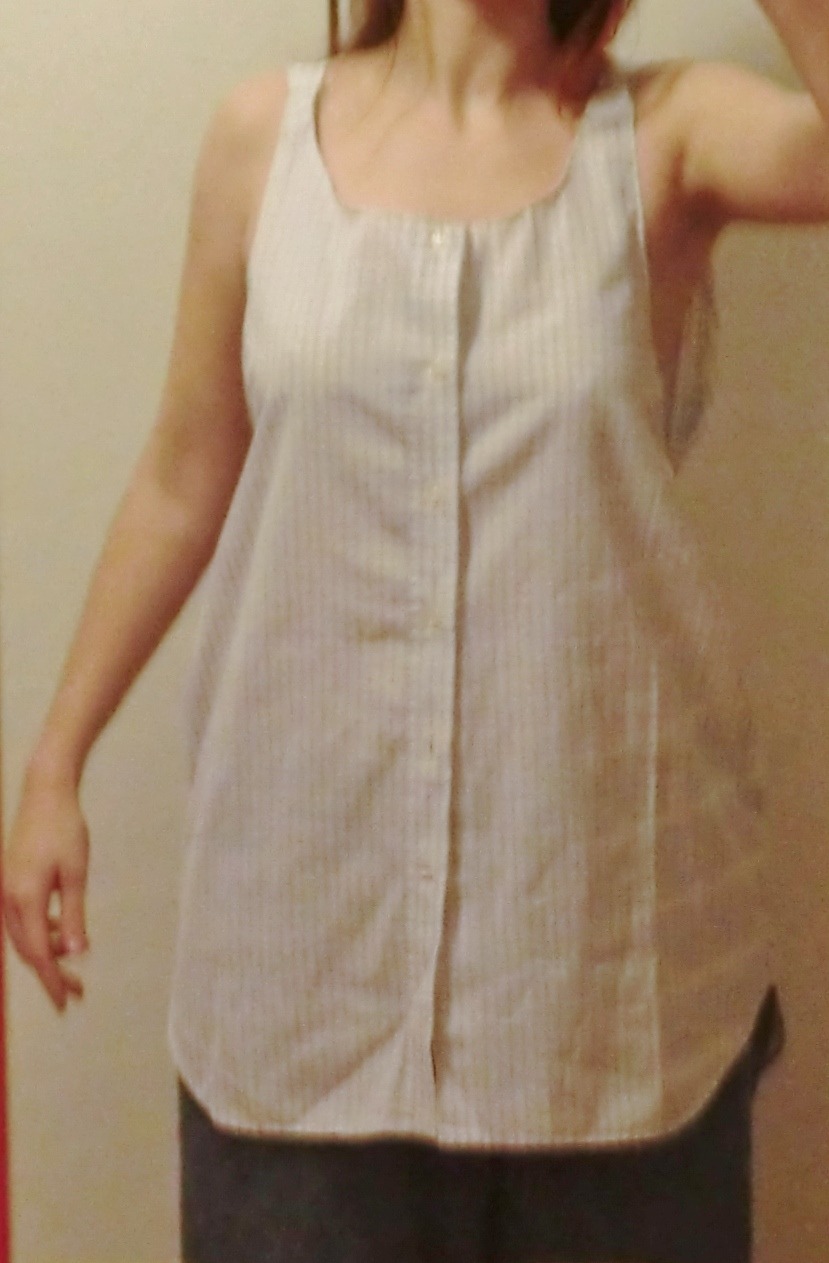
Il risultato dovrebbe essere più o meno questo. A questo punto il vostro top, se non volete decorarlo, è pronto!!
Ovviamente io l'ho decorato...
Ovviamente io l'ho decorato...
The result should look something like this. At this point, your top is ready, unless you want to decorate it!
Obviously I decorated it...
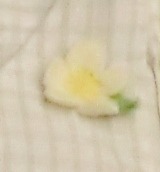
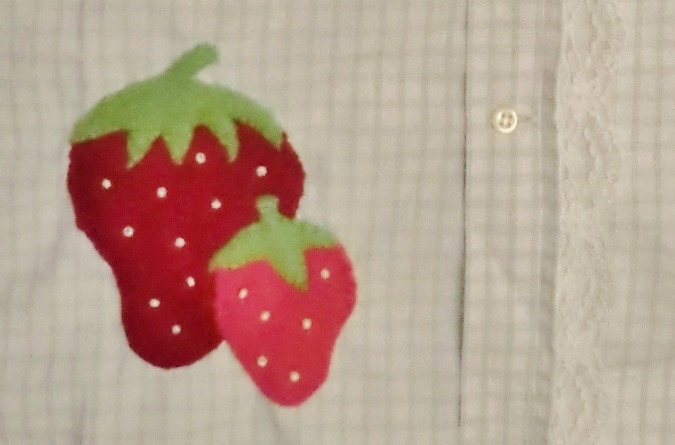
Con il pile ho fatto due applicazioni a forma di fragola, un fiore di fragola e ho attaccato del pizzo a lato dei bottoni.
I semini delle fragole sono fatti con delle perline. A posteriori mi sono resa conto che sarebbe stato furbo cucirli prima di attaccare l'applicazione, in modo da poterla staccare e riciclare facilmente in caso di rottura della camicia.
Il fiore è fatto cucendo solo il centro, in modo che i petali e la foglia restassero un po'sollevati.
Using pile I made two stawberry shaped applications, plus a strawberry flower and I sewed lace aside the buttons.
The seeds of the strawberries are made with beads. Afterwards, I realized that it would be smarter to sew them before sewing the application, so you can remove and recycle it easily in case of breakage of the shirt.
The flower is made by sewing only the center, so that the petals and the leaves remain a bit lifted.

Da-daaan! Che ne dite?
Da-daaan! What do you think?
5 commenti:
Eccolaaaa!!!
A me piace, forse avrei messo un nastrino sotto il seno per dare un pò più di forma.
Brava!
Forte!!!
www.gingercandyblog.blogspot.it
@Lavinia: eh, ma sai come sono...devo perdere l'abitudine all'oversize XD
Comunque si può sempre aggiungere una cinturina!
Grazie, è stato faticoso!
@Cristina: grazie ^^
Ottimo lavoro! Come sempre sono molto ammirata dalle tue capacità di cucito (visto l'insesistenza della mie)!
PS domanda, carichi le foto su tumblr perchè hai finito lo spazio di Picasa? Se non ricordo male qualche tempo fa stavi finendo quello disponibile.
@Acalia: grazie mille!!! ^^
Proprio così! Hai avuto problemi di qualche tipo? Per ora mi sembrava funzionasse piuttosto bene.
Posta un commento